
How to Install our Diamond Strap Anchors - A Hardware Installation Tutorial
7/13/2017 10:13:00 AM

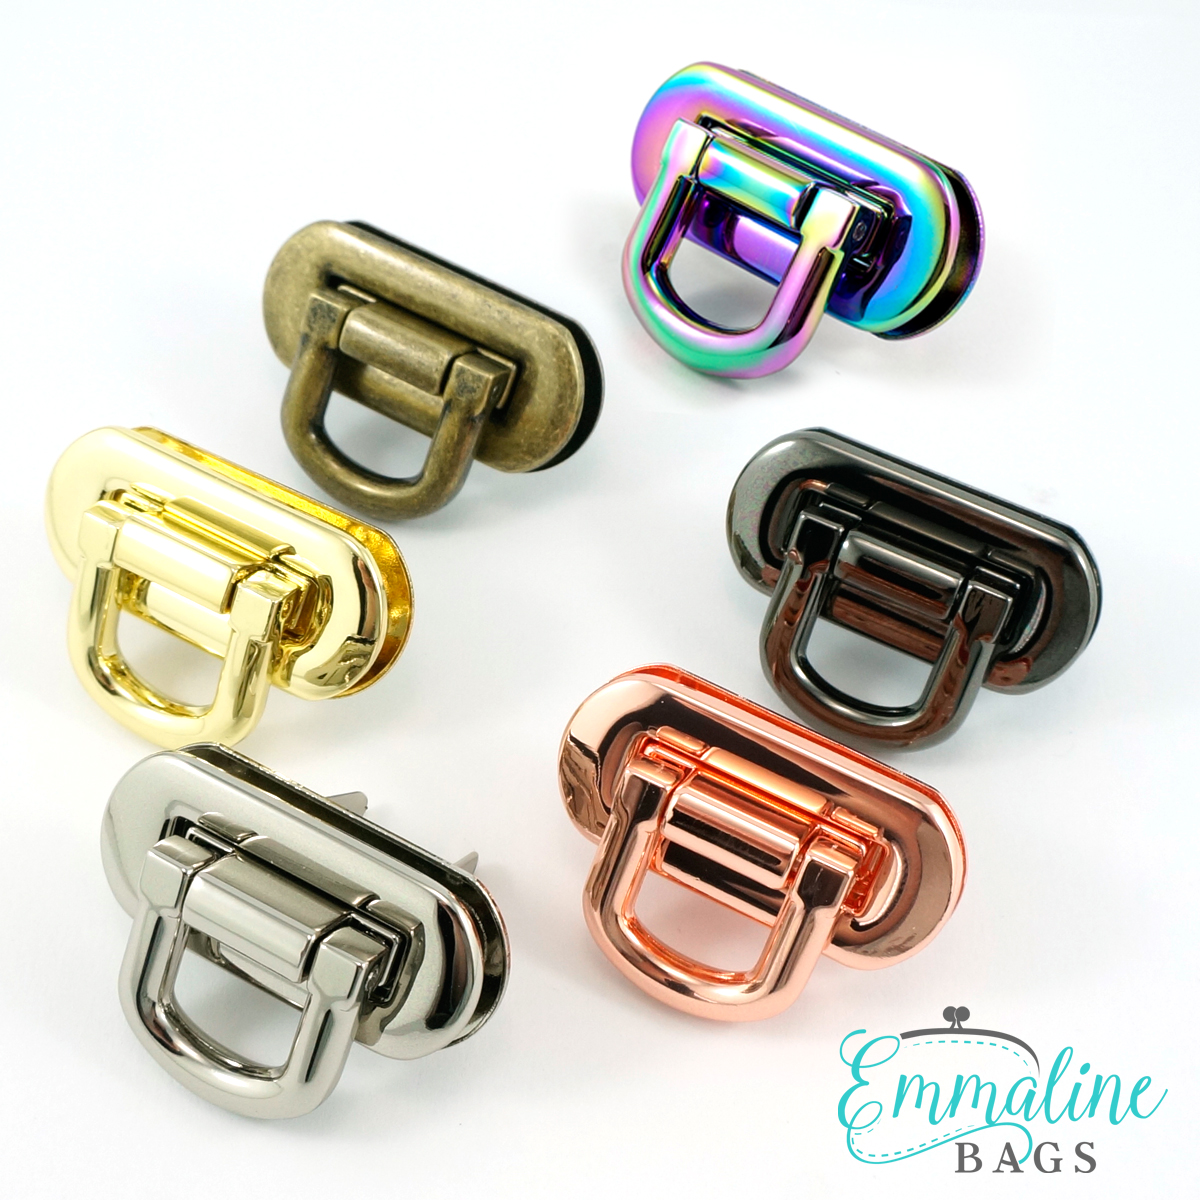
Today we are going to show you how to install these luxe diamond strap anchors. These lovelies add a touch of class to any bag and are super easy to install. They come in all five finishes and are perfect for your next bag project. Read on to find out how.

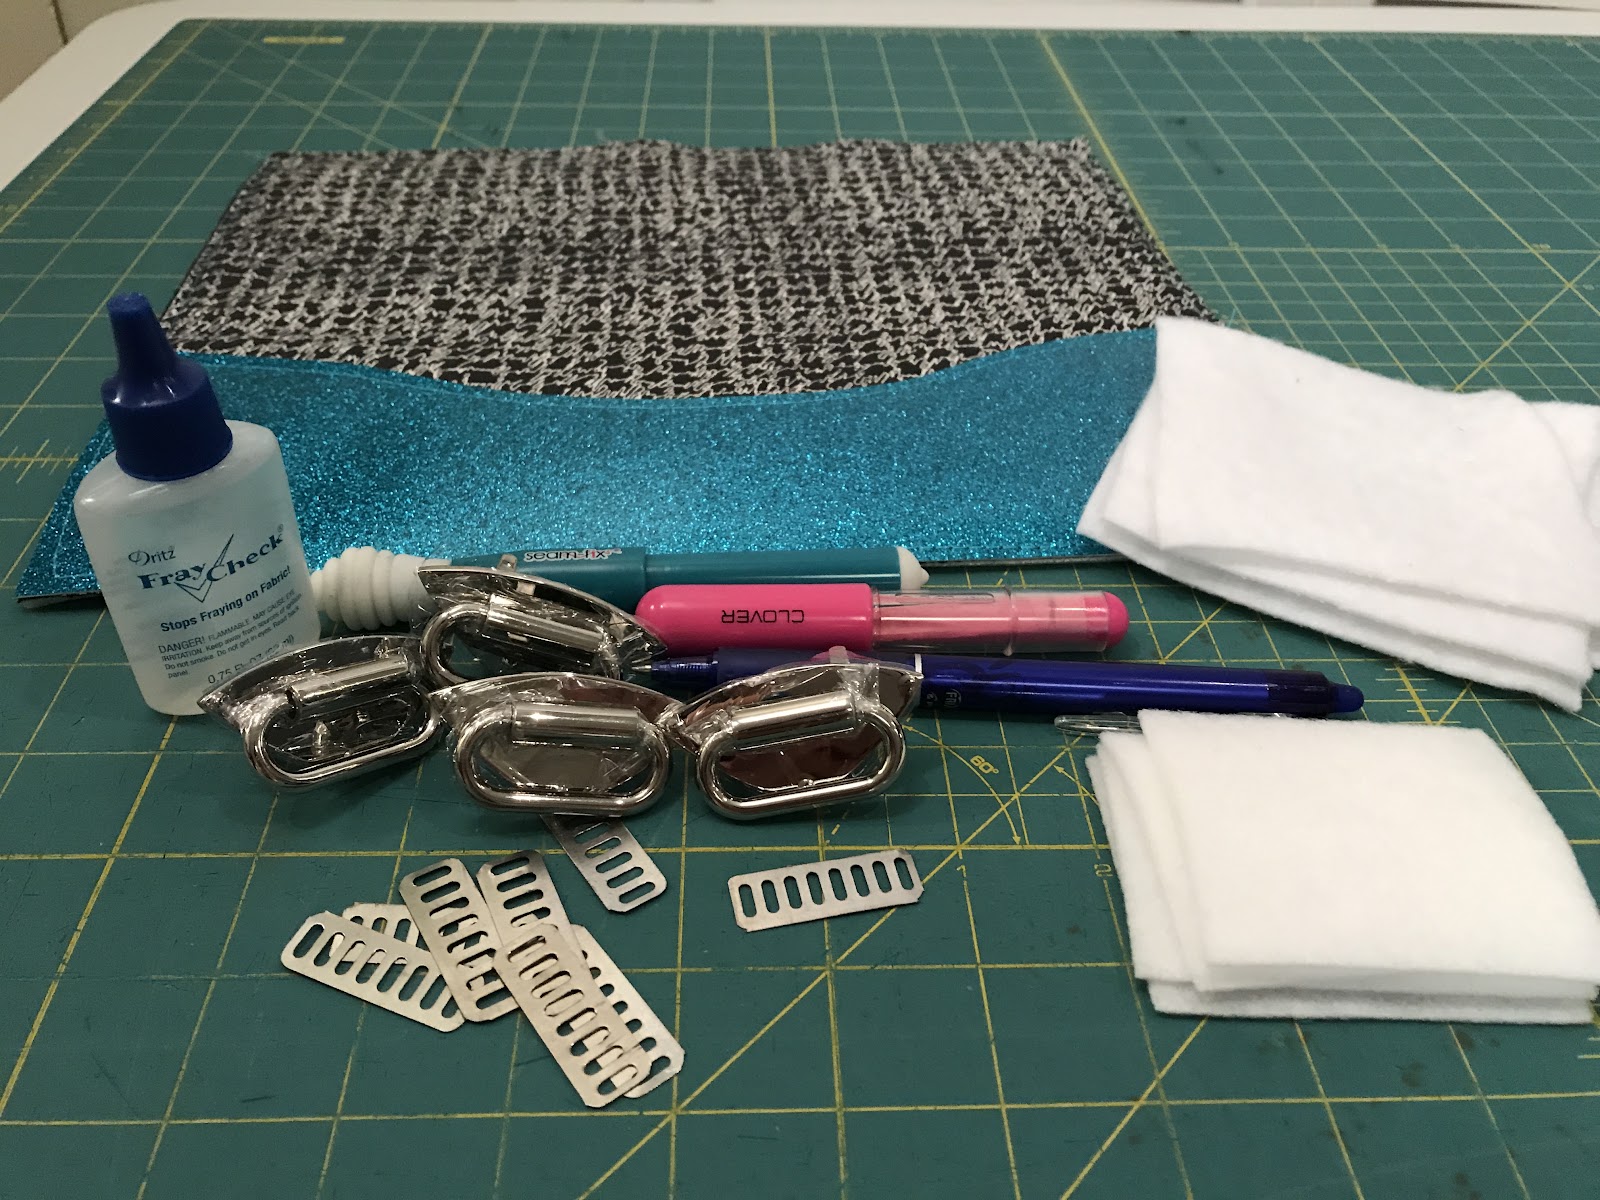
Supplies:
-Diamond Strap anchor installation template (available here)
-A seam ripper
-Glue for metal and fabrics, such as E-6000 or Fabritac
-Glue for metal and fabrics, such as E-6000 or Fabritac
-A seam ripper
-Scraps of Peltex
-Scraps of fusible fleece
Grab your completed bag panel and the strap anchor installation template and find the placement that you would like for your anchors. NOTE: The fabric area where the strap anchors will go should be stabilized with heavy interfacing for strength and durability.

Clip or pin the template in place.

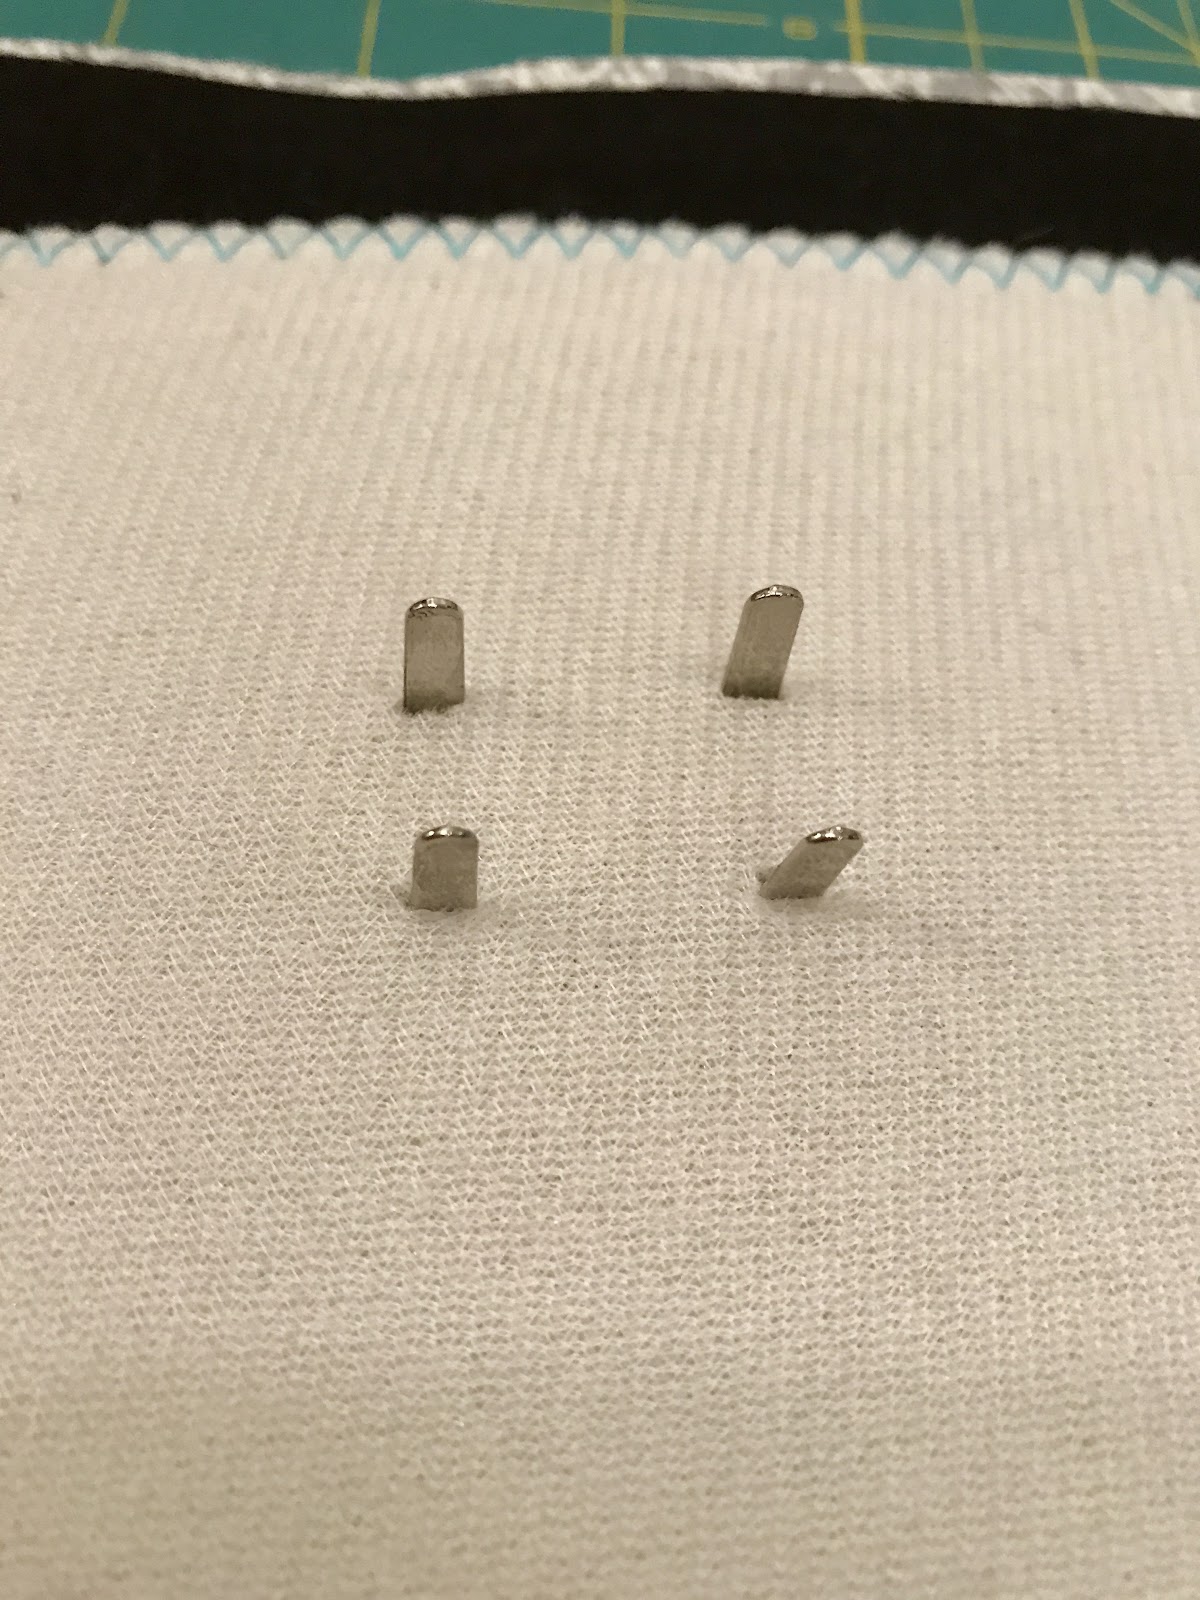
Using the template, mark the spots for the 4 prongs of the anchor.
Do the same for your peltex scrap.

Take your seam ripper and carefully cut a slit in the marks you made on your bag panel and your peltex. Then using your Fray Check, dab a bit on your fabric where you cut the slits.

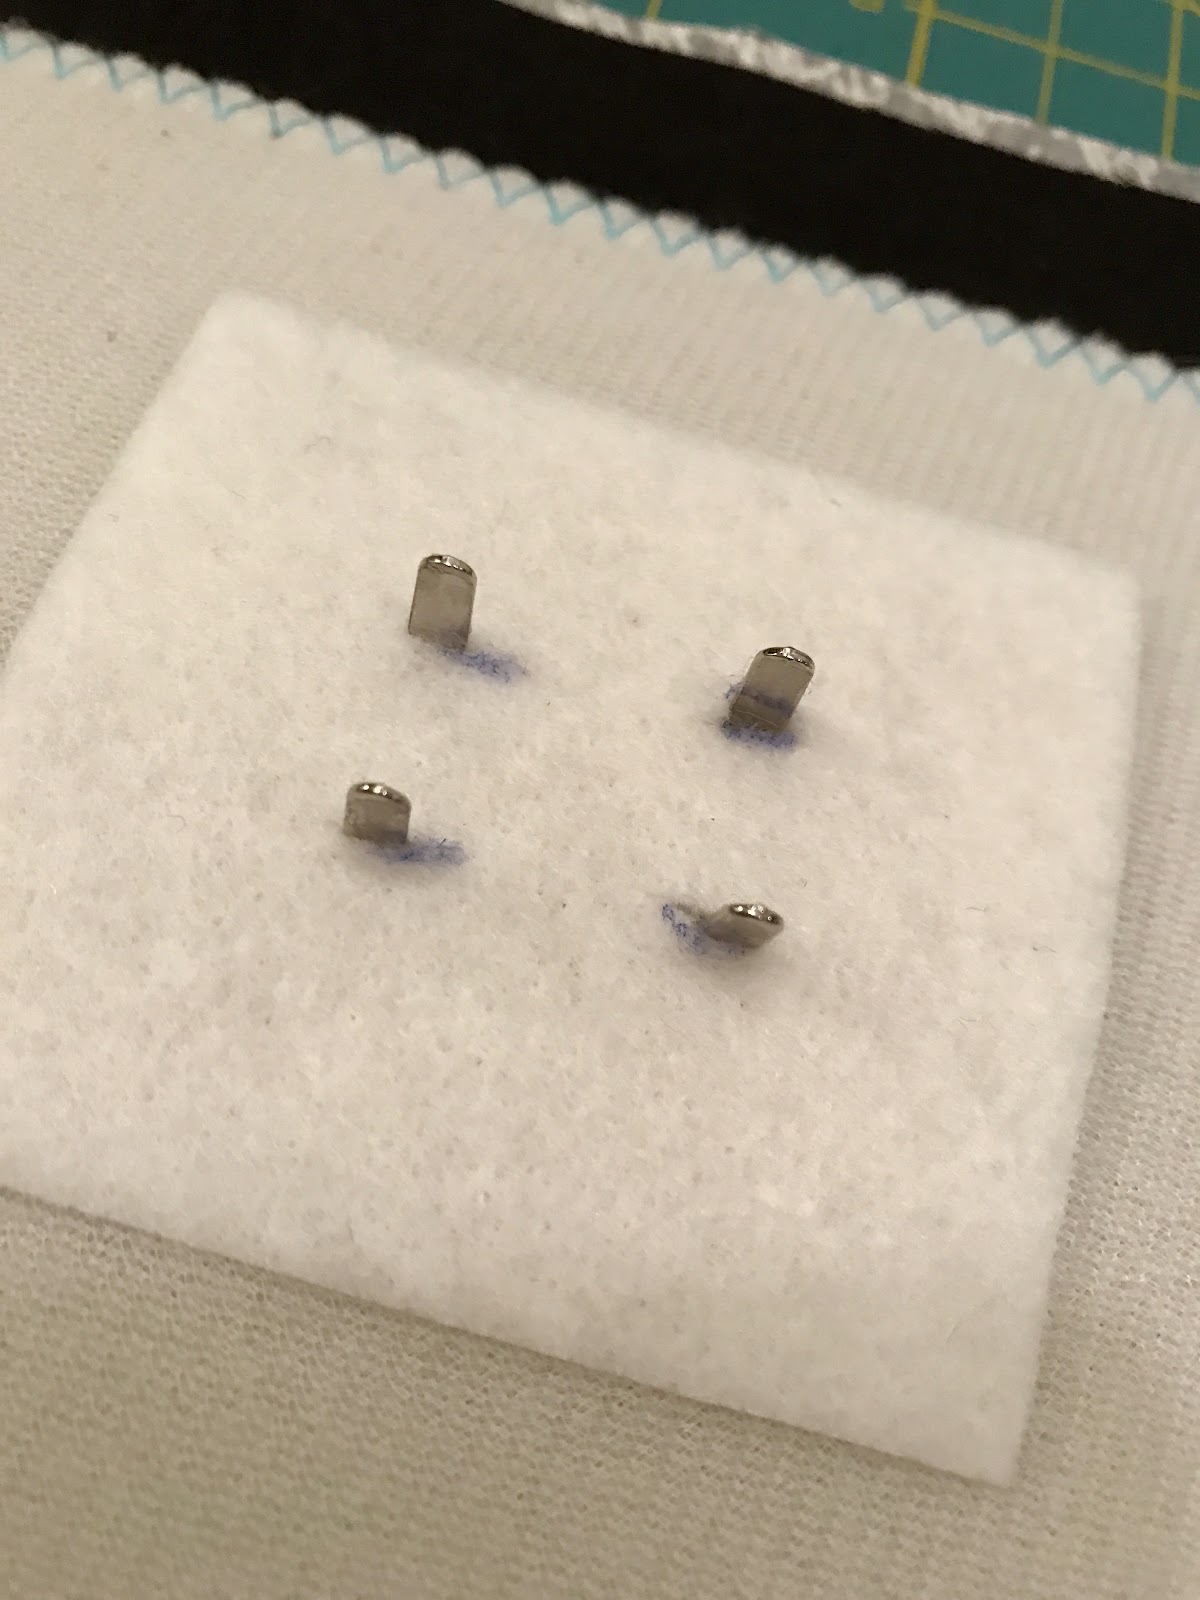
Apply glue to the surface area on the back of strap anchors and push them through from the right side of your fabric.
Then slide your Peltex over your prongs.
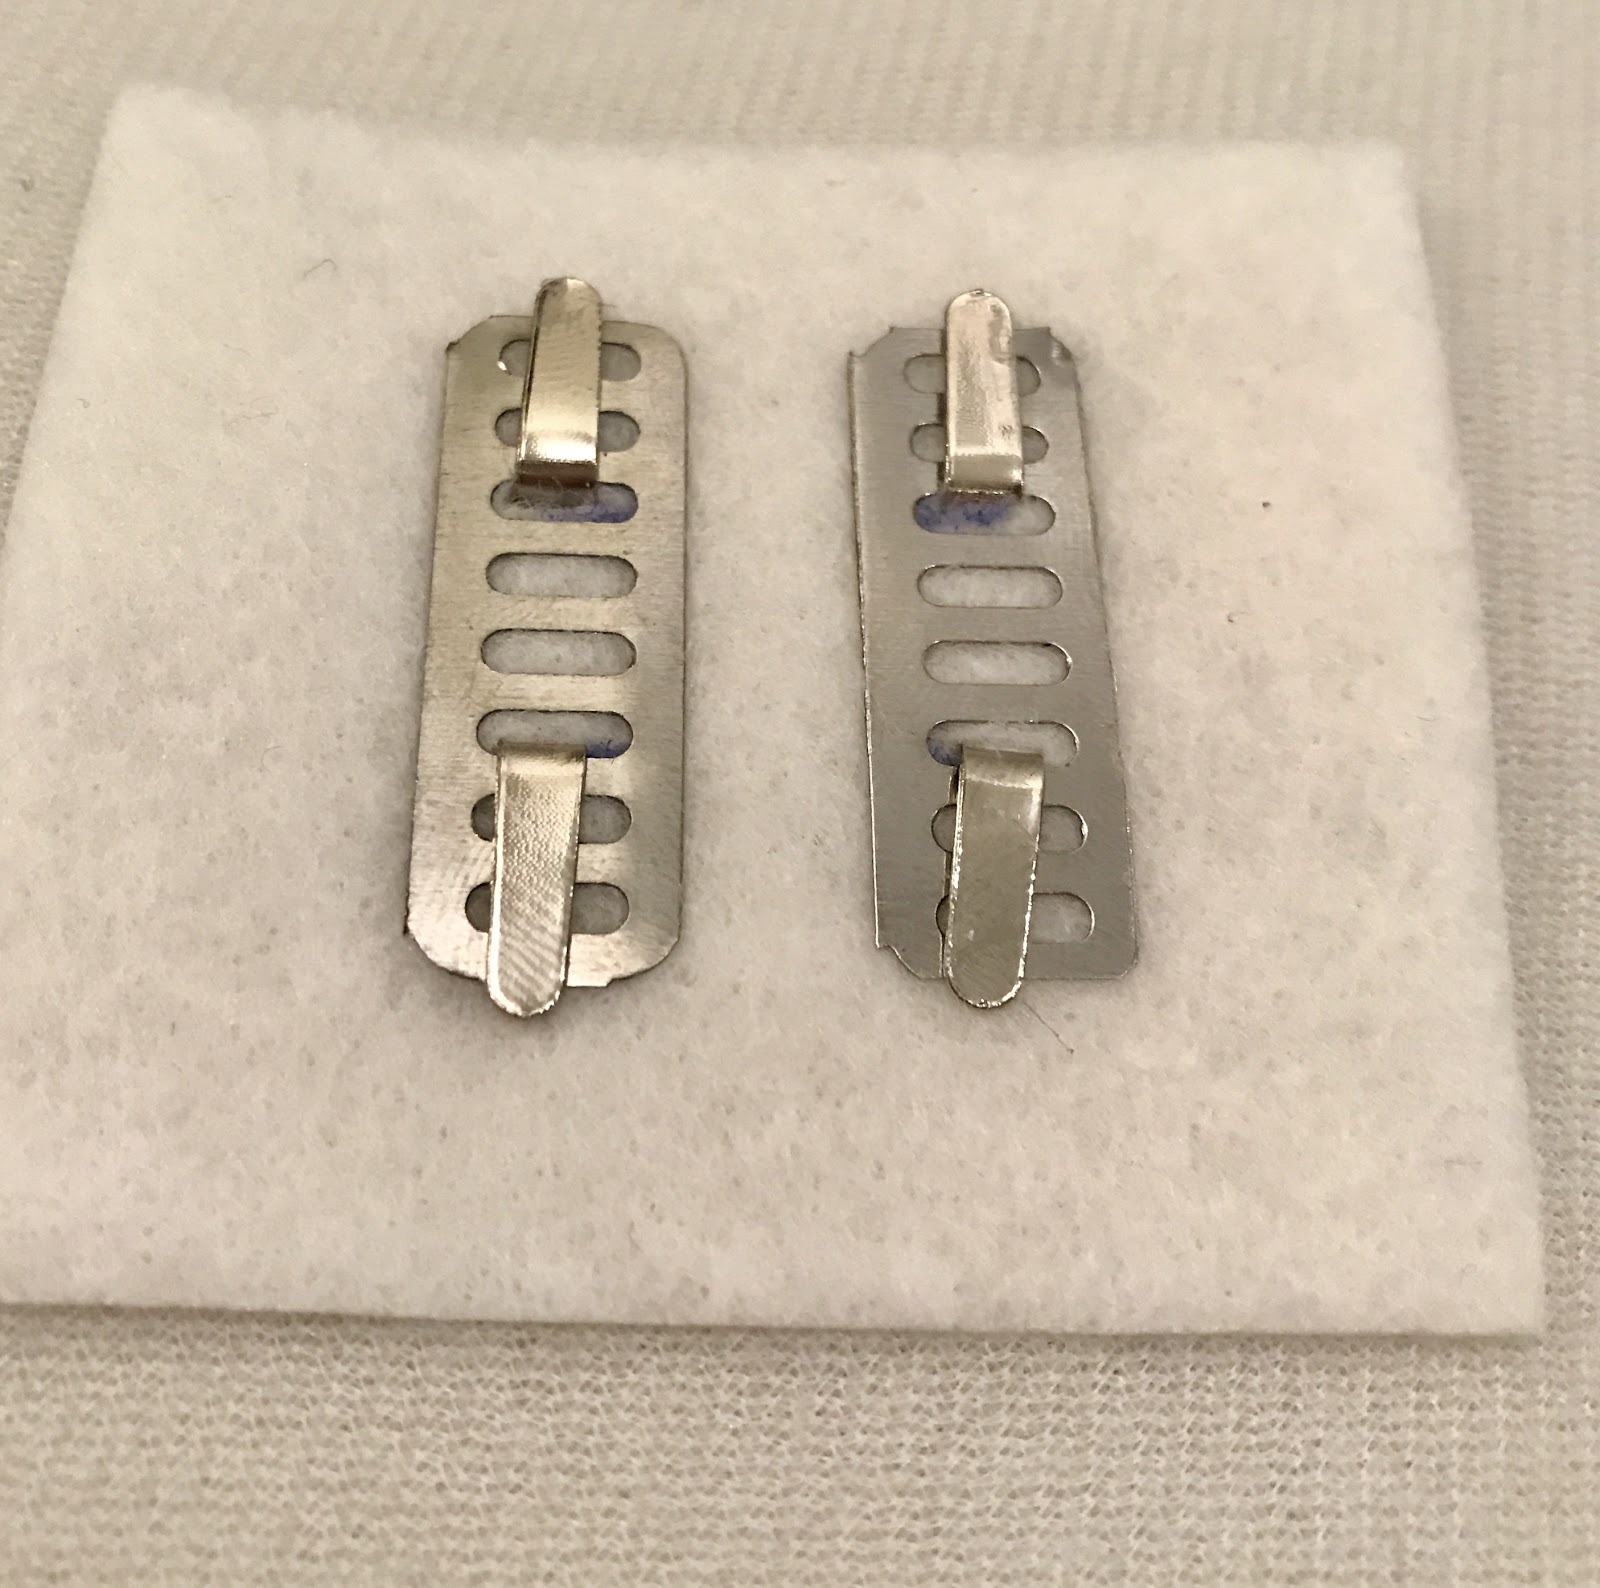
Apply your washers to the prongs.
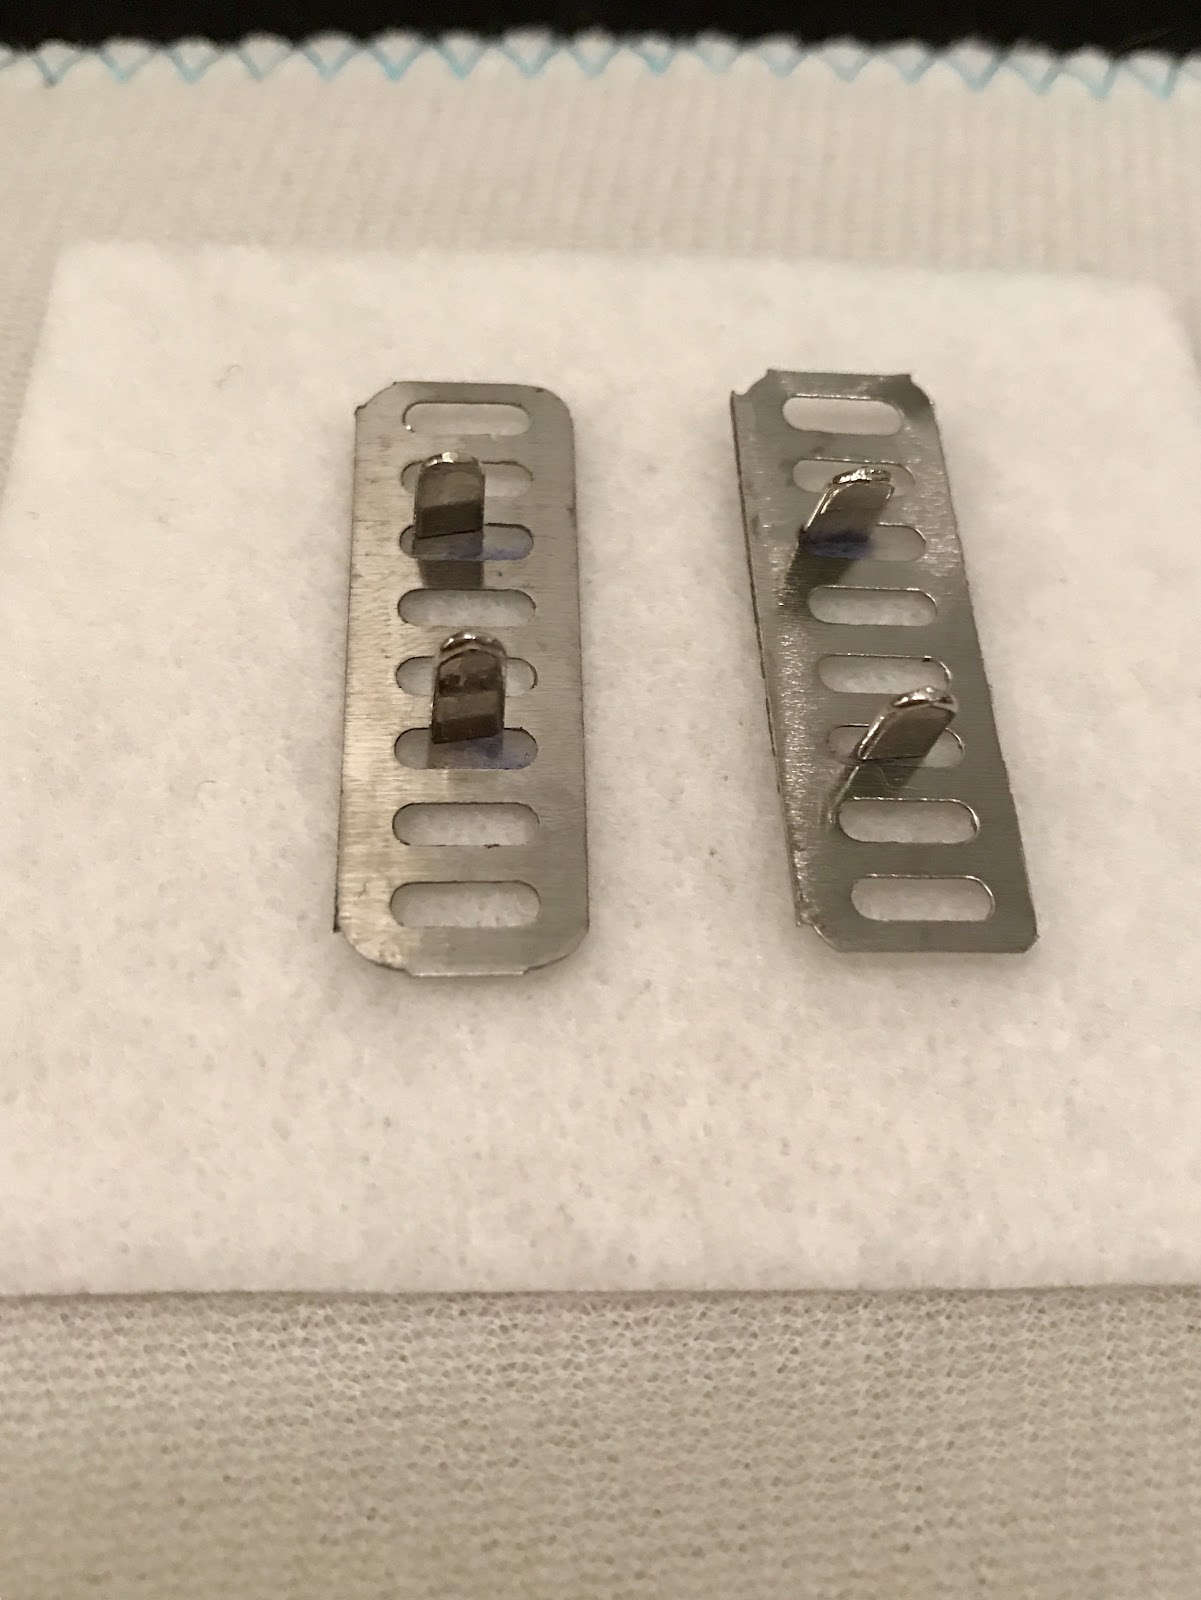
And then bend the prongs over your washers. They should be VERY tight.
Now take your pieces of fusible fleece and fuse them over the backside of your anchors. This protects your lining fabric from rubbing against the metal and wearing.

Tip: If the fleece is being persnickety about fusing over the hardware (or you have non fusible fleece), you can cut a larger piece of shapeflex 101 and fuse that down and it will hold your fleece in place.
That's it!! How easy was that?! Finish your bag as usual, then peel off the protective plastic from the hardware. Use a sharp exacto knife to help cut it away from the base.

-----------
Photos and content provided and written for Emmaline Bags by Cyndi Farfsing, from The Nosy Pepper. Cyndi's blog is chock is full of more bag photos and make making tips. Check out her bag series "It's in the Bag! Better Bag Making Series," to learn a ton of new bag making skills.
Share your projects made from Emmaline patterns and/or with Emmaline hardware in our facebook group Emmaline Sewing Patterns Group, or on instagram with the hashtags #emmalinehardware, #emmalinepatterns, #emmalinebags, or tag us @emmalinebags.


1 comments
Excellent tutorial. Thanks!!
ReplyDeleteNote: Only a member of this blog may post a comment.